How do you install a breather membrane?
What is a breather membrane ?
Vapour permeable breather membranes protect against wind, insects, dirt, weather penetration whilst insulating your property. Installed to the outer side of the insulation, over or under the counter-battens on a pitched roof, breather membranes allow water vapour to escape from inside a building. Often without the need for ventilation.
Why do we need one?
Building Regulations demand ever higher thermal efficiency. Today’s building envelopes are becoming increasingly airtight. Whilst beneficial for the energy performance of our homes, airtightness makes careful consideration and management of moisture more critical than ever. Studies have shown that ventilating directly above an insulation layer can reduce its thermal efficiency. Which means more and more people are opting for an un-ventilated roof. This is where breather membranes come in! They also protect against condensation that can cause mold and structural damage from rotting timbers when a roof is not able to dry out sufficiently.
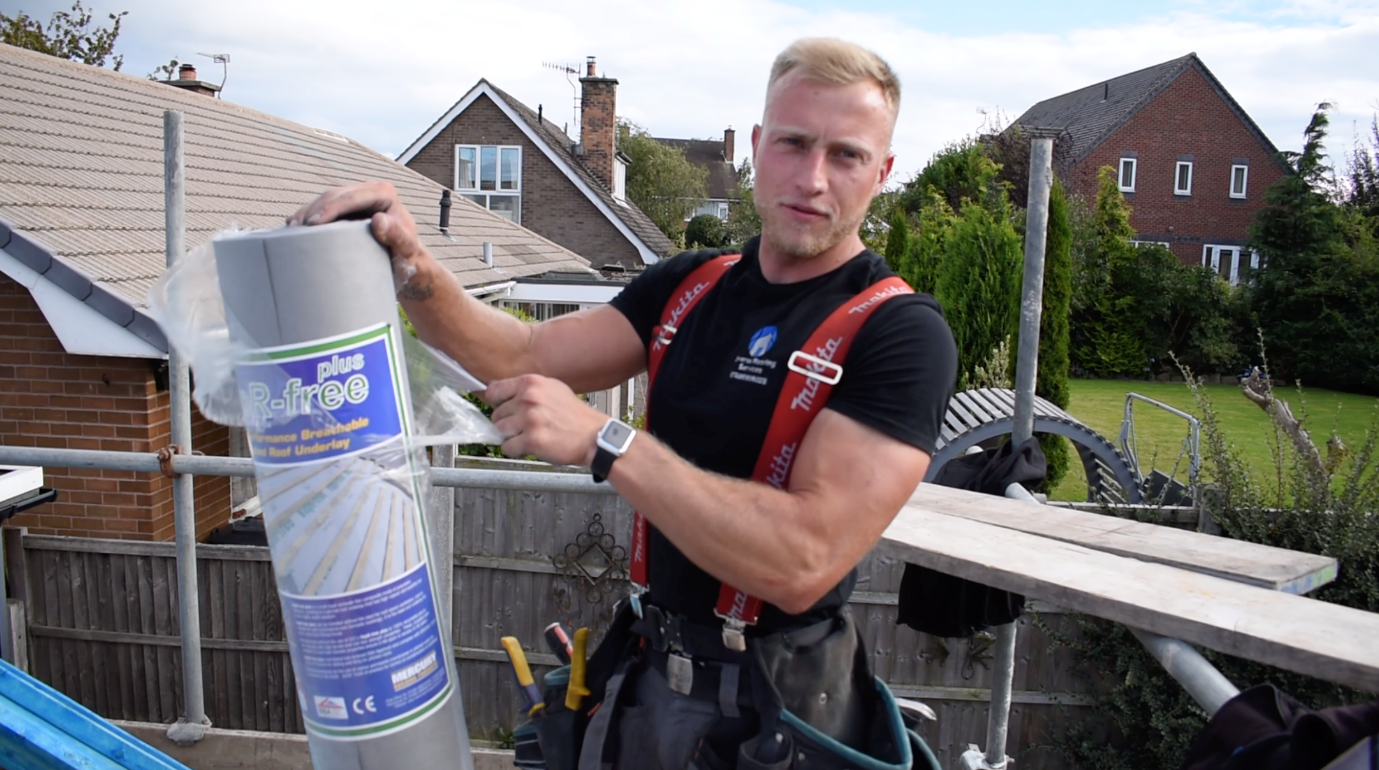
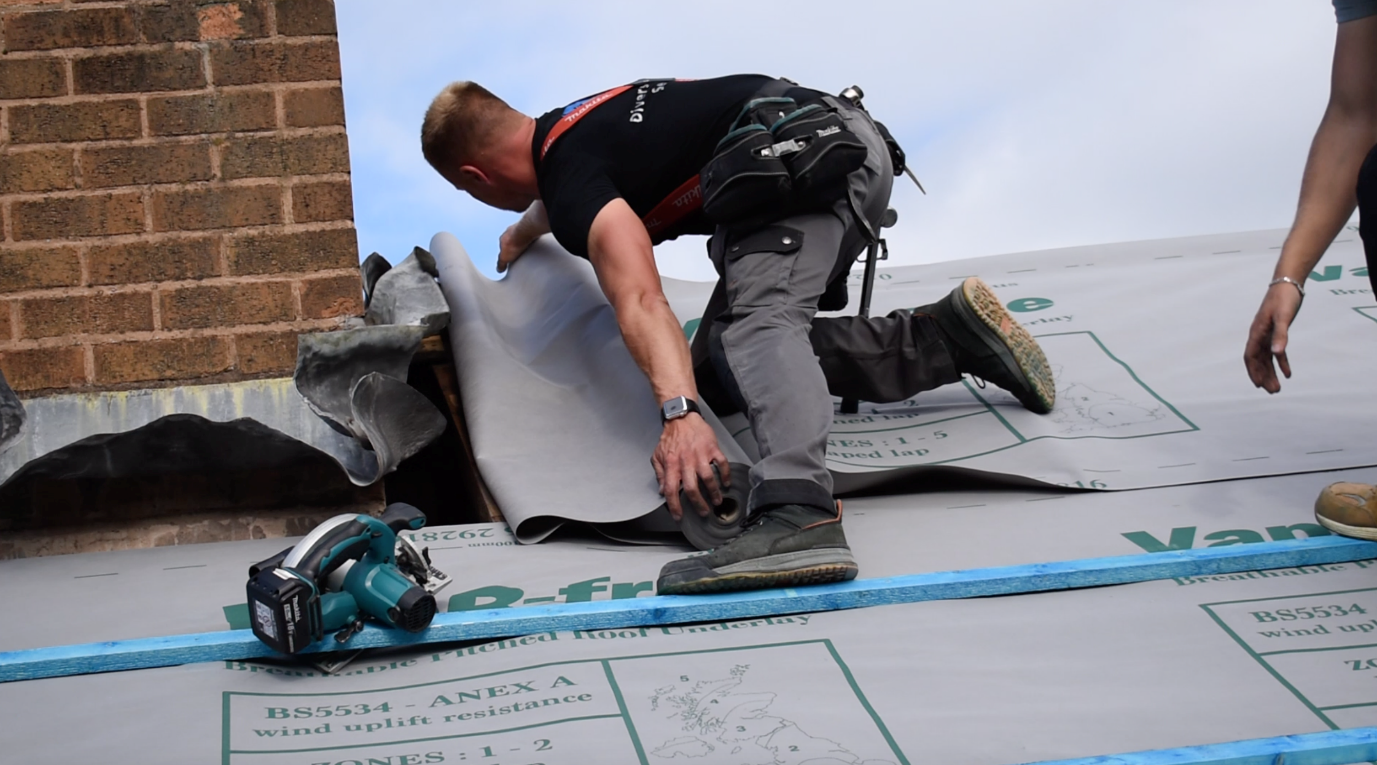
At Burton Roofing we offer a section of high quality BBA Certified breathable membranes. Designed to deal with particular conditions and types of pitched roof. The following installation guide was produced with the help of Mercury Building Products and our customer Diverse Roofing from Sheffield.
Key stages of breather membrane installation:
Check before you begin:
- Each roll contains detailed fitting instructions. Check the ventilation requirements of the membrane will be met.
- Close the top of the brickwork cavities.
- Ensure the insulation is correctly installed at the wall plate to avoid a thermal bridge.
Tip: Never open the Breather membrane with a knife – tear the plastic with fingers to avoid slitting the felt
Starting at the eaves
The UV resistant membrane along the eaves is a crucial detail. Traditionally the bottom edge of the membrane is extended either half-way or 150mm into the gutter. However, long term exposure of the roofing underlay at the eaves, leads to degradation. A simple and effective solution is a felt support tray. These direct the water from the underlay prevent felt from sagging at eaves level providing a clear drainage point into gutter.
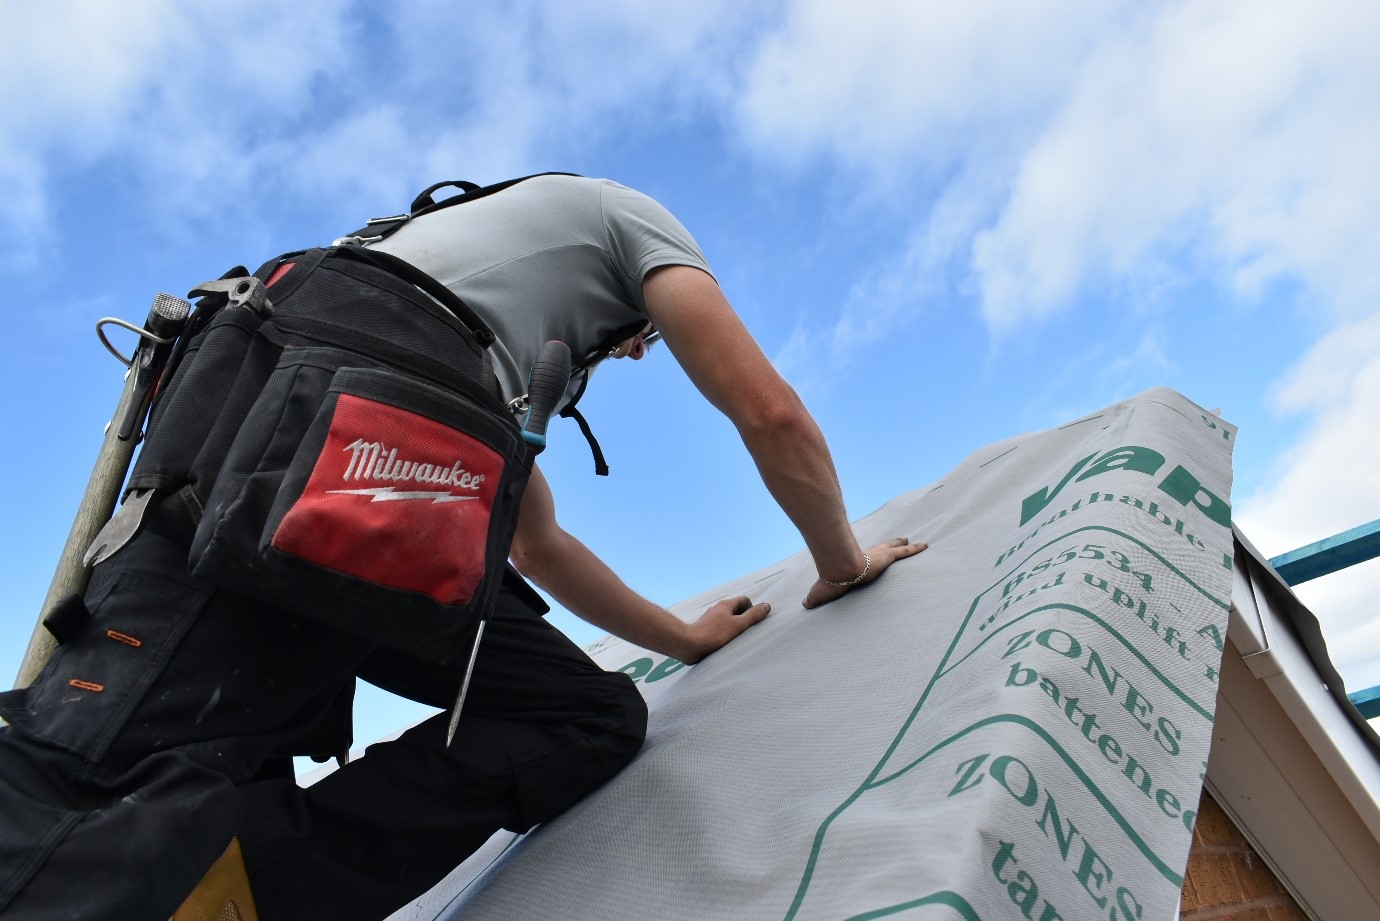
Drape the underlay
When your membrane is taught the moisture will not run off as fast. This increases the risk of ingress. Draping, ensuring it dips between the rafters or counter batten, provides channels to allow the rainwater to pass down the surface of the membrane. We suggest a dip of approximately 10-15mm. Check that this is the case, adding temporary clout nails to the top of the membrane. Try to ensure they are above the line at which the second length of membrane will overlap. The final covering of tiles or slates will provide a secure fixing.
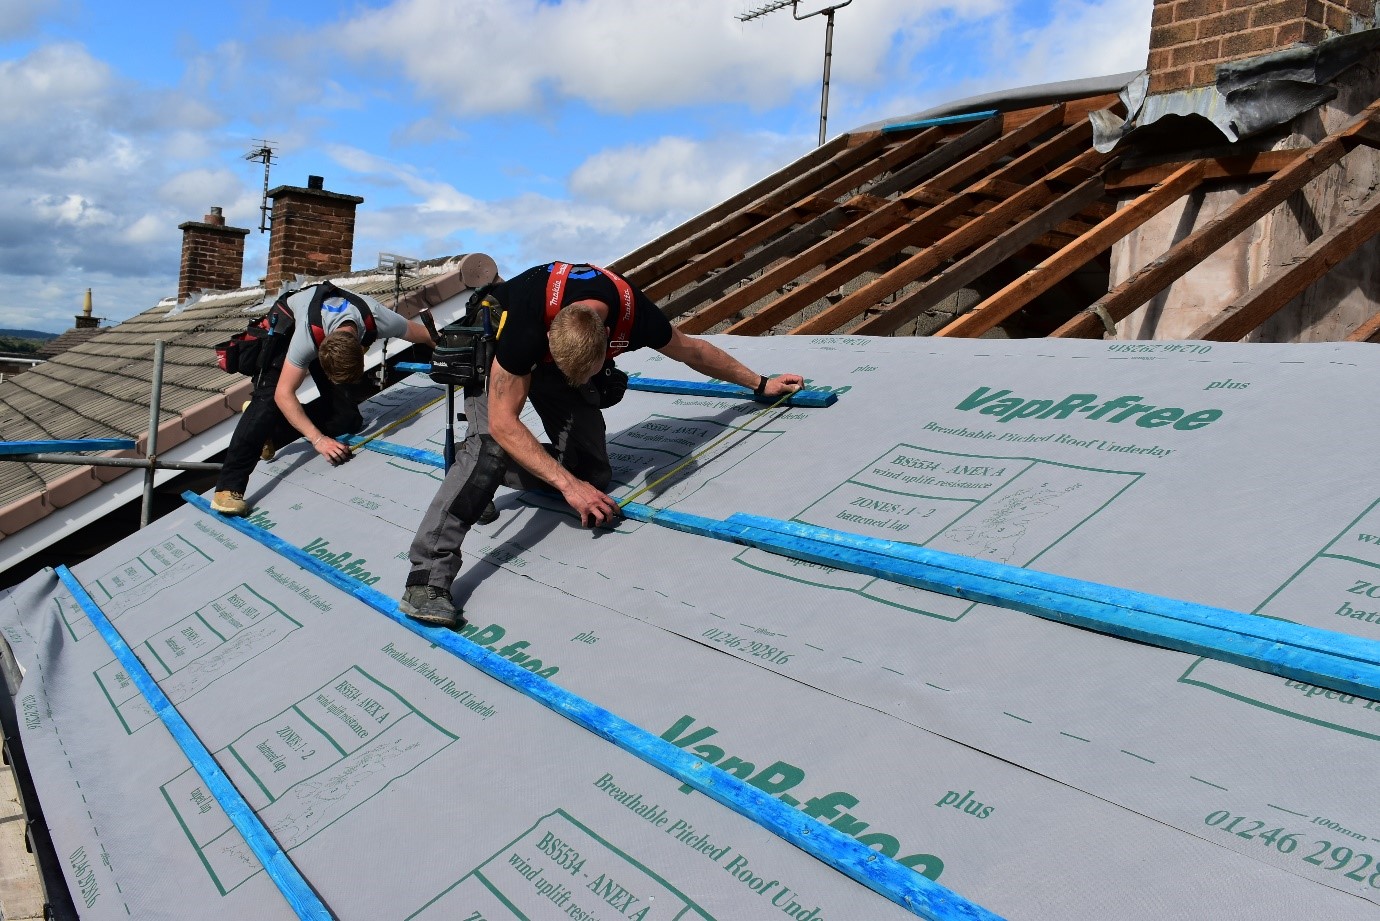
Continue up the roof laying lengths of breather membrane.
Manufacturer’s instructions state the amount of overlap required between each length of breather membrane. If the overlap does not coincide with a timber batten an additional batten can be installed. This ensures the overlap remains, whilst preventing the tiles from touching the membrane. They are added across the top of the underlay.
Ridge detail & ventilation
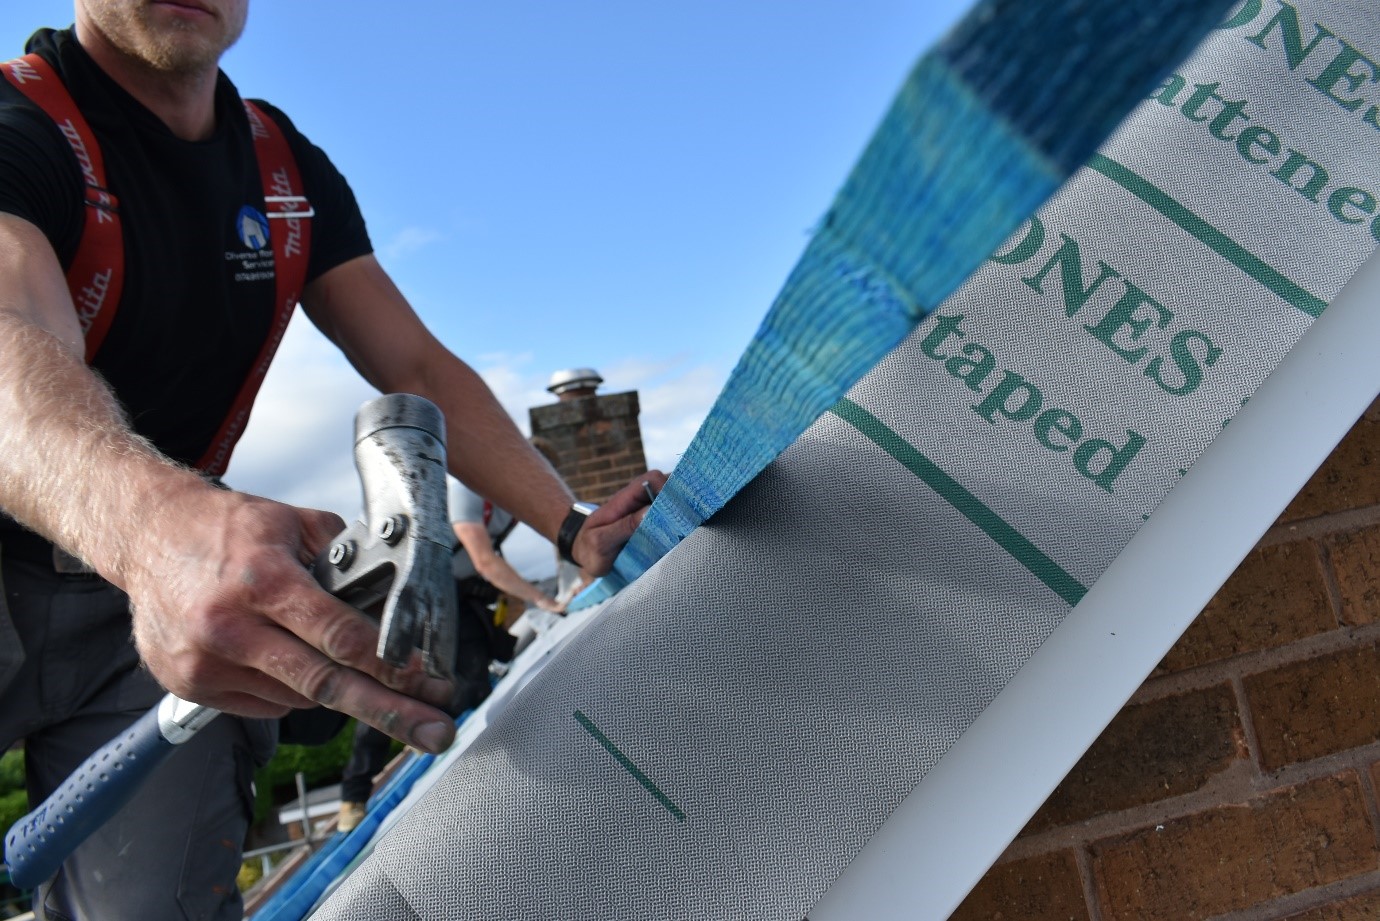
At the ridge the felt needs to overlap approximately 150mm over the top of the ridge. The felt from the second side of the roof needs to overlap the top of the felt from the first side and nailed through the top of the rafters on the first side.
The breather membrane goes over the ridge, and overlaps each side of the ridge line by the required overlap.
For all new build homes, ridge or high-level ventilation must be installed when a vapour permeable membrane is installed. Other warm or cold pitch roof structures do not require additional roof space ventilation.
However, we recommend being thorough and prudent when you are installing. Manufacturers rigorously test their membranes they’re able to support sole ventilation, but ridge or high-level ventilation for tight fitting tiles and slates will help moisture vapour to disperse more easily when air temperatures are very low.
For roofs requiring ridge ventilation, cut the breather membrane as per manufacturer’s instructions on either side of the ridge to ensuring the ventilation airways are clear.
Verge detail
With a dry fix verge, lay the membrane so that it extends past the face of the gable.
With a wet verge (a verge that use mortar bedding as a fixing) the breather roof membrane needs to lap onto the masonry by at least 50mm.
Roof valleys
Where a roof includes valleys, ensure the breather membrane is extended by a minimum of 300mm on each side, measured from the centre of the valley. At abutments, turn the underlay up by at least 100mm. This will create a secondary water- resistant barrier.
Roof penetrations
Around chimneys, soil pipes, etc. cut the membrane and turn it so that it folds up against the penetration. For round penetrations, cut the membrane with an Asterix shape to create flaps to fold upwards. If needed, tape the cut-out sections to the penetration to prevent them from folding back down.
The British Standard 5250 Code of Practice gives guidance on the control of condensation on all different pitched roofing structures.
See our online range of breathable roofing membrane here.